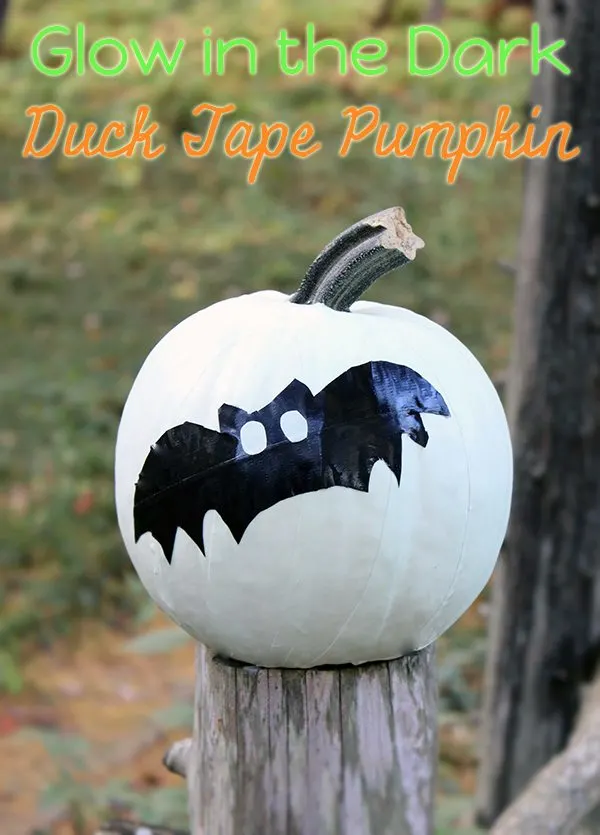
Can you believe that I haven't tried creating anything with Duck Tape® yet? I've always wanted to, but somehow never got to it. Now, if I could think of the most perfect time to give it a try? You knew I would say Halloween right? I headed on over to Walmart to see what kinds of different colors and Duck Tape® designs they had to choose from. As soon as I spotted the "Glow" tape, I just fell in love. I mean Halloween is all about glow in the dark things, so why not a glow in the dark pumpkin?

I settled on grabbing a roll of black Duck Tape® so that I could create a spooky bat over my glowing pumpkin. I had my talented husband create a printable bat template so that I could easily use it to trim the tape. Other items that I used to create my pumpkin are simple tape and scissors. I used a white pumpkin figuring it would be easier to illuminate than a darker colored one. I think that is a good choice, but of course you can still do a traditional colored pumpkin, it just might be just slightly less glowy.
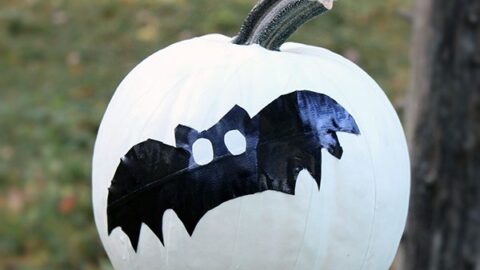
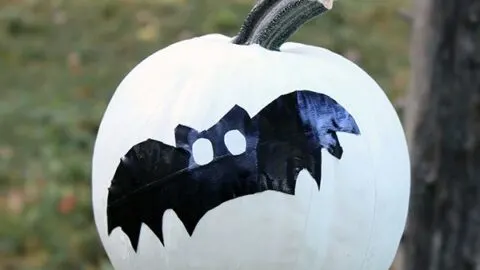
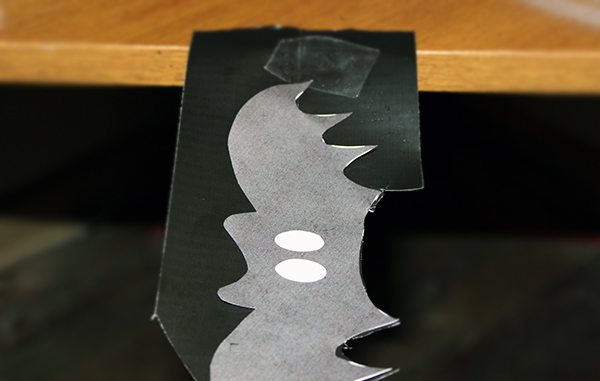
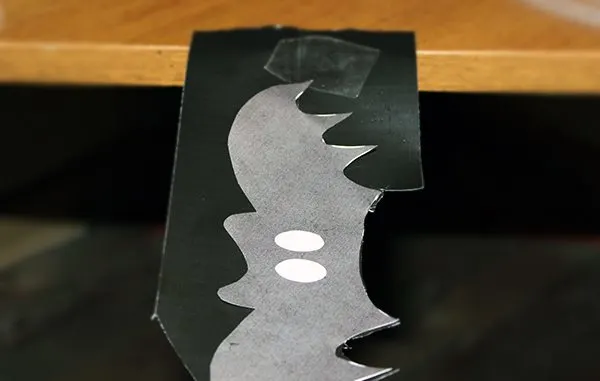
First, I printed the bat template and trimmed it out. Then, I cut two pieces of black Duck Tape® longer than the bat print. I lined them up side by side just enough so that they stuck together as one piece. Then I very loosely taped the pat print to the tape and trimmed it. It was a slow tedious process. You don't have to worry about making it perfect, you can fix it up by trimming it after as it will be easier to do. For the eyes, I tried to use the template to "trace" them but eventually just ended up cutting them freestyle because that was a bit of a challenge. You can do whatever works for you! Once the bat is all set, you can gently hang it from a table edge by just adhering a small piece of the tape. You definitely don't want to set it anywhere because it will be hard to remove.

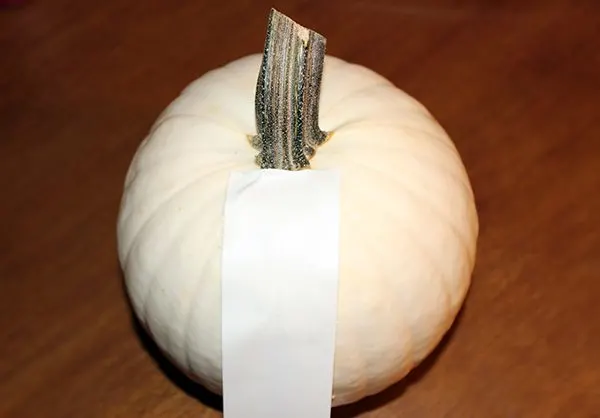
Next, I tackled the pumpkin. This is also a little time consuming, but it doesn't have to be perfect, matter of fact it would be pretty hard to make it perfect. Since the tape is white in the daylight, it really isn't super noticeable if there are little bumps along the way. I started with pressing an edge of the tape at the top at the base of the stem and would drag each piece all the way down. The trick to making it as smooth as possible is to pull and stretch the tape as you press it down flat against the pumpkin. With each piece of tape, I would try to do it as straight as possible, but don't be afraid to overlap the strips, you will have to in order to cover the shape of the pumpkin.
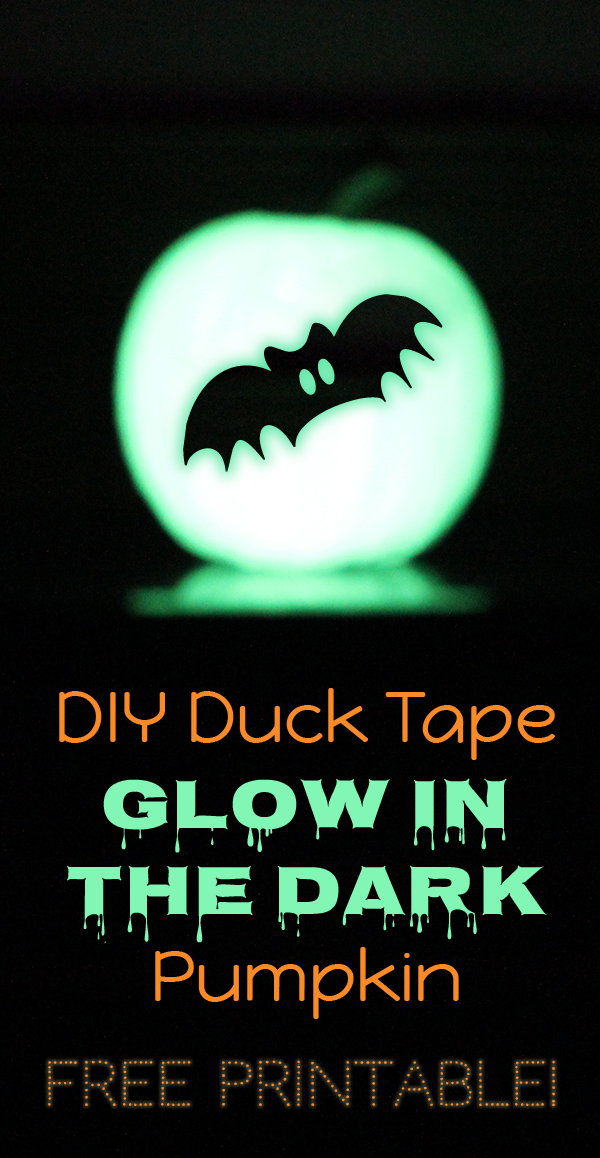
Once I covered the entire pumpkin with the Glow Duck Tape® simply placed the sticky bat where I wanted it. The Glow tape needs to charge for 30 minutes, natural light or artificial seem to both work great. Then, let the glowing begin! 😉
DIY Duck Tape® Glow Pumpkin
What you'll need:
Small to Medium White Pumpkin
1 Roll of Black Duck Tape®
2 Rolls of Glow Duck Tape®
Tape
Sharp Scissors
Optional bat printable. Click Here (pdf)

How would you like to decorate your pumpkin?