

This post is not a sponsored post, but some links in this post are affiliate links and I will receive a small commission if you make a purchase after clicking on my link.
Can't believe the summer flew by so quickly. Hearing about kids that already headed back to school is making my head spin. Luckily we have another week or two before my son heads back. Guess he is one of the lucky ones. We still have some back to school shopping to do, but one of the things he wouldn't want to take to school is a lunch box. They just grow up so quickly, so if you're handing off a packed lunch to your little ones this year, cherish the moment!

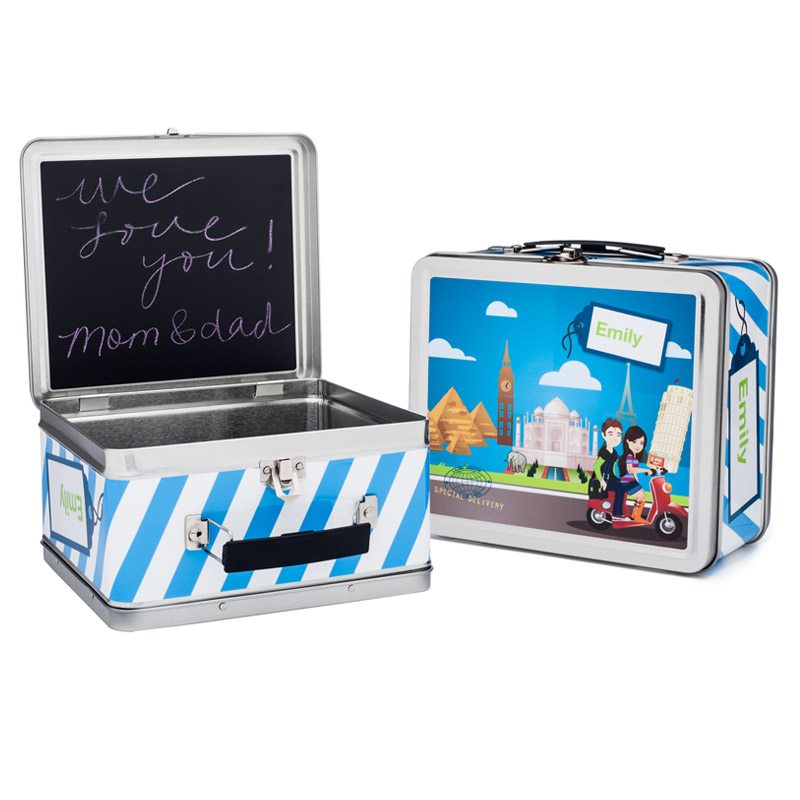
Well, I spotted the most adorable lunch box that I've ever seen over at Little Passports. They mostly sell fun, educational subscription packages for kids. In a recent email, they included a special personalized Lunchbox and Chalkboard. I just completely fell in love with it. But, since I don't technically need one right now, I couldn't justifying buying one. But, a little bell went off in my head and it wasn't a school bell. I've been dying to try chalkboard spray paint. So, what if I could just test it out on a lunch box? Yep, I went for it! While I don't think this is necessarily a good idea to actually store food in, it would make a super cute storage box for crayons and art supplies. Yeah.

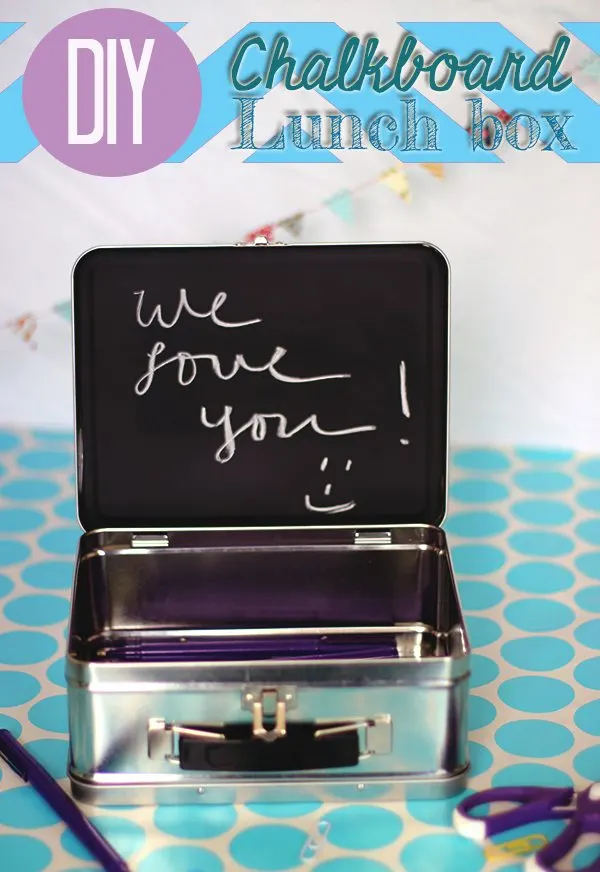
DIY Chalkboard Lunch Box
Here's what I used to create my own lunch box:
- Tin Style Lunchbox
- Painter's Tape
- Chalkboard Spray Paint
You'll also need materials like newspaper or a dropcloth to protect your surface while spray painting.

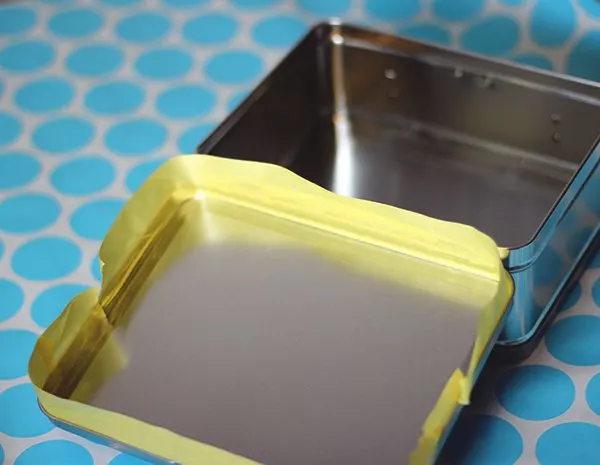
Step One: Use painter's tape to surround the area that you want to be a chalk board. I decided to line the edges to make it less complicated for me.
Step Two: Cover any area that you will not be spray painting with something to protect it. I used more painter's tape and brown paper. You could use any kind of plastic, tape or paper to cover.
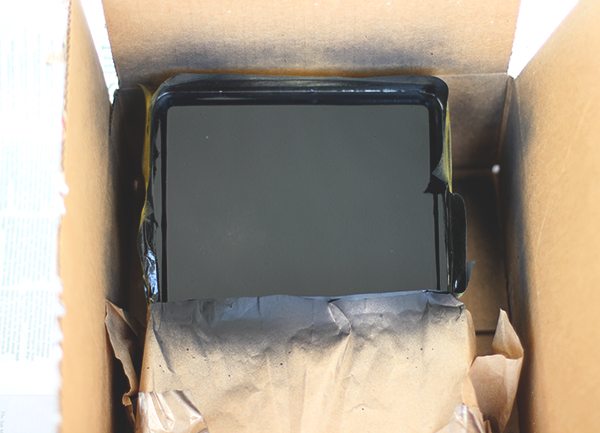

Step Three: Read the directions on your chalkboard spray paint and follow them. I used Rust-Oleum Chalkboard Spray, which was under $4 as an add on on Amazon.com. This spray dries in 24 hours and within 1 hour to the touch. I sprayed three coats on and waited about 15 minutes between each. Then, let dry overnight.
And, that's it! A super fun and simple project. Next, I'm going to spray the lid to use it as a storage box, since there is no way my son will take this to school, or probably anywhere for that matter.


Do you have any little ones headed back to school?
Have you used chalkboard spray yet? What did you create?
Krista @ Joyful Healthy Eats
Thursday 4th of September 2014
Such a cute idea! Can't wait to do this! Thanks for sharing it a Show Stopper girl!
Angela
Wednesday 3rd of September 2014
Congrats on being featured this week on The Wednesday Roundup Link Party! We love having you join us! This post has also been pinned to our link party features board: http://www.pinterest.com/anglemoine/the-wednesday-roundup-features/ ~Angela @ LeMoine Family Kitchen
krista
Saturday 30th of August 2014
This is such a great idea!! Thanks for sharing it on Wake Up Wednesday! I've included it on my blog today in a Back to School round up!
Aida@TheCraftingFoodie
Friday 29th of August 2014
What an awesome idea Dawn! My daughter has stainless steel bento box lunch boxes, and I may try this with one of them. My daughter will love it. Thanks for sharing such a great idea!
Kelly
Wednesday 27th of August 2014
Fabulous copy cat project!! Love this.... thanks so much for sharing at the par-tay :) Hugs.